You start by attaching the red dot to your firearm, ensuring it’s securely fastened.
Then, at a basic level, sighting in, or zeroing, involves adjusting the sight so your point of aim matches your point of impact.
Understanding the process of zeroing in your red dot is crucial for hitting your mark with precision.
From the initial setup to the final adjustments, there are several key steps you need to master.
So let’s start!
Table of Contents
Understanding the Basic
If you’ve ever wondered how red dot sights work, they use the reflection of an internal mirror to create a dot reticle for aiming.
A red dot sight is a type of non-magnifying reflector sight used for firearms.
It allows you to aim with both eyes open, providing a wide field of view and quick target acquisition.
This makes it popular for shotguns and pistols used in close to moderate ranges.
Preparing for Sight in a Red Dot
Before you start sighting in your red dot, make sure you’ve got the right mounting gear.
You’ll need to set a firm zero position to ensure accuracy.
But before that, Have you checked if your red dot sight is working correctly?
Make sure it turns on. Look through the sight. You should see a clear red dot.
If it’s fuzzy or not bright enough, adjust it. There’s usually a knob or button for that.
Check the battery, too. If it’s low, the dot might be dim. Replace the battery if necessary.
Next, shake it to make sure nothing’s loose. The dot shouldn’t wiggle or disappear.
If it does, something’s wrong. Fix it before you proceed.
Once you’re sure the red dot is stable and visible, you’re ready to move on.
Select Appropriate Mounting Equipment for Red Dot

To ensure your red dot sights are accurate, choose a mount that’s compatible with your firearm and optic.
Start by checking the mounting system of your red dot. It could be Picatinny, Weaver, or something else.
Your gun must have the right type of rail or adapter for the mount to fit.
Next, consider the mount’s height.
You’ll want a comfortable cheek weld while looking through the red dot.
Too high or too low can strain your neck or eyes.
Look for sturdy, reliable mounts. They should hold tight without wobbling.
Quality mounts keep your red dot steady after the shot.
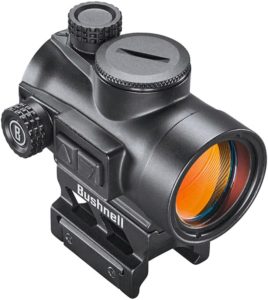
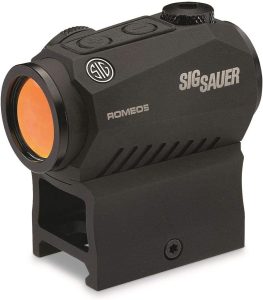
Some of my Suggestions are:
- Feyachi TRM10 Adjustable Height Picatinny Riser Mount (Best Adjustable mount I used)
- VOTATU Optics Picatinny Mount
- Feyachi Picatinny Riser Mount
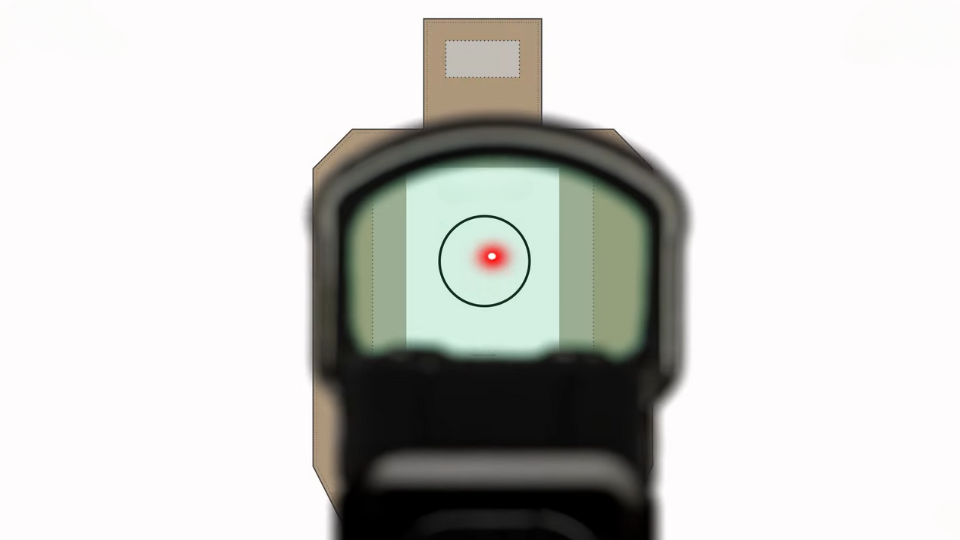
Balancing Vision for Accurate Zeroing
Start by turning the sight on and looking through it. You’ll see a red dot. Use that dot to aim.
Now, make sure the red dot is centered. It should be in the middle of the lens when you look straight through the sight.

If it’s not, you’ll need to adjust it.
There are knobs or dials on your sight. One moves the dot up and down.
The other moves it left and right. Turn these until the dot lines up with your target.
Establish Zero Position
Once your mount is secure, it’s time to establish a firm zero position for your red dot, ensuring precision with every shot.
To do this, find a steady rest. Use sandbags or a stable platform. Make sure your gun doesn’t move.
Now, look through the red dot. Centre it on a target at a known distance. Most folks start at 25 yards.
Fire a few shots. Keep your aim steady. Check where the bullets hit. They might be off from where you aimed.
That’s okay. You’ll adjust for that.
Use the dials on your red dot. They move the dot up, down, left, or right.
Tweak it until your shots hit the target’s center.
Keep it simple and take your time. You want your zero to be just right.
And now let’s understand the Boresighting method (mostly used for ARs)
Initial Boresight Setup
To accurately align your red dot with the firearm’s barrel, follow these steps:
- Secure your gun in a stable rest or vice to keep it still while you work.
- Turn on your red dot sight and adjust the brightness so you can see the dot clearly against your target backdrop.
- Look through the bore of your firearm. If you have a bolt action, remove the bolt. For semi-automatics, lock back the action. This will give you a clear view straight down the barrel.
- Aim the gun at a target about 25 yards away.
- Adjust the gun until you see the target centered through the bore.
- Without moving the gun, adjust the red dot sight until the dot covers the same point.
- Congratulations, you are now bored-sighted and ready for fine-tuning at the range.
Range Setup
Ensure your shooting range is safely set up and marked before aligning your red dot sight.
Check that no one is downrange and that your target area is free from hazards.
Set up your target at the desired distance, usually 25 yards for the initial sighting in.
Make sure your target is stable. You want a clear, steady point of aim.
Also, set up a backdrop to safely stop missed shots.
This can be a dirt berm or a solid backstop. Always know what’s beyond your target.
If a round goes past, it mustn’t endanger anyone or anything.
Place shooting rests on your bench. These can be sandbags or a dedicated rest.
They’ll help you hold your firearm steady while you sight in. You’re aiming for precision, and a stable gun is key.
Initial Shots
Once you’ve set up your range, it’s time to load your firearm and take the initial shots to begin sighting in your red dot.

Stand or sit in a stable position. Aim at the center of the target.
Take a deep breath, let it out, and squeeze the trigger gently. Watch where your shots hit.
After your first few shots, it’s time to check your target. Keep your gun safe and pointed downward.
Walk up to the target and see where the bullets hit. Remember or mark these spots.
Now you’re ready to adjust your red dot. Use the knobs on your sight.
This is the same as we did in the last part.
Go back and shoot again. Take your time. Aim and fire the same way each time.
Check your shots and adjust again if needed. Keep doing this until your shots hit where you aim.
That’s when you know your red dot is sighted on the right.
Conclusion
Now that you’ve learned the step-by-step process of zeroing red dots on both pistols and ARs, you have the knowledge and skills to enhance your shooting accuracy.
With this comprehensive guide, you’re now equipped to take your shooting skills to new levels of accuracy.
Resources
A great video resource by Omaha Outdoors that helps you understand more clearly.